
From your file to a sheet ready to cut. Open only the topics you need.
Open the panel and activate
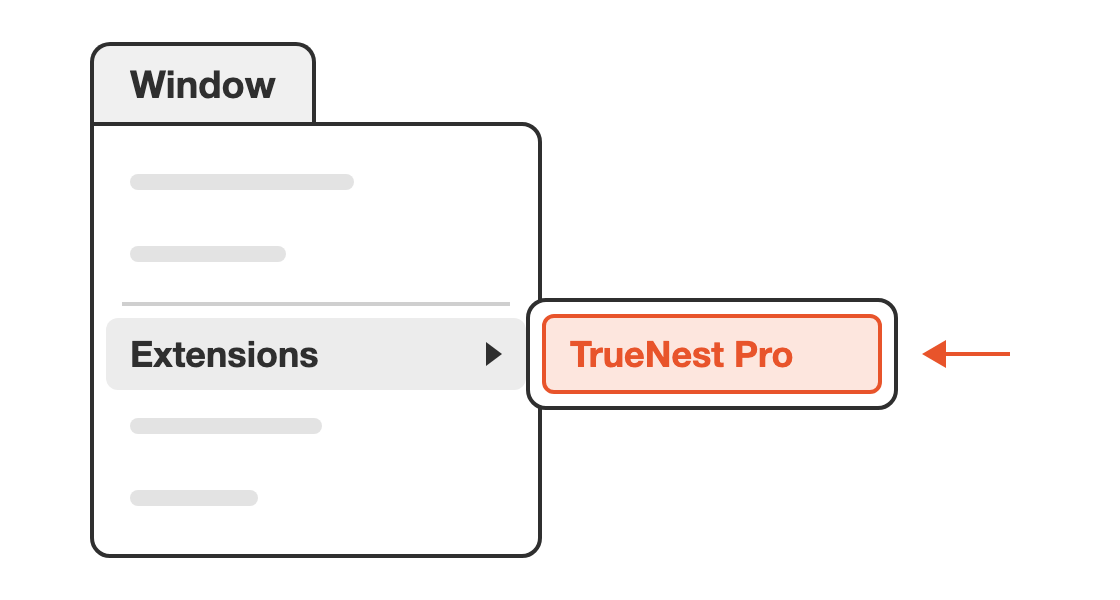
- In Illustrator, choose Window > Extensions > TrueNest Pro.
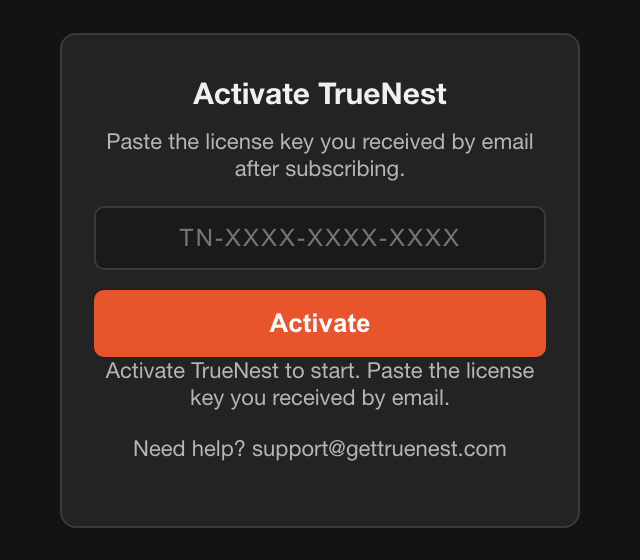
- The first time, the Activate TrueNest card appears.
- Paste the key from your licence or trial e-mail, then click Activate.
- Place the panel where you like. Illustrator opens it there next time.
Not installed yet? Follow the installation guide.
Prepare your file
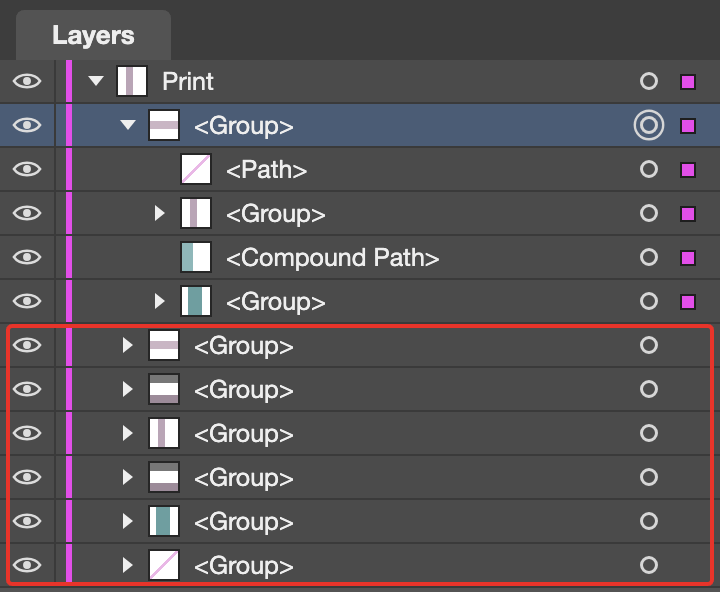
- One group per piece: its artwork plus its cut line. Select both and press Cmd+G on Mac or Ctrl+G on Windows.
- Draw each cut line with a spot colour swatch, CutContour by default. The name must match exactly, capitals included.
- Whole kit in one big group? Select it and ungroup it once: Shift+Cmd+G on Mac, Shift+Ctrl+G on Windows.
- Each cut line is a closed path that does not cross itself.
- Save your file before nesting.
Pieces turn to any angle and are never mirrored. Take care with vinyl that has a direction, such as brushed, carbon or reflective films.

Set your sheet and spacing
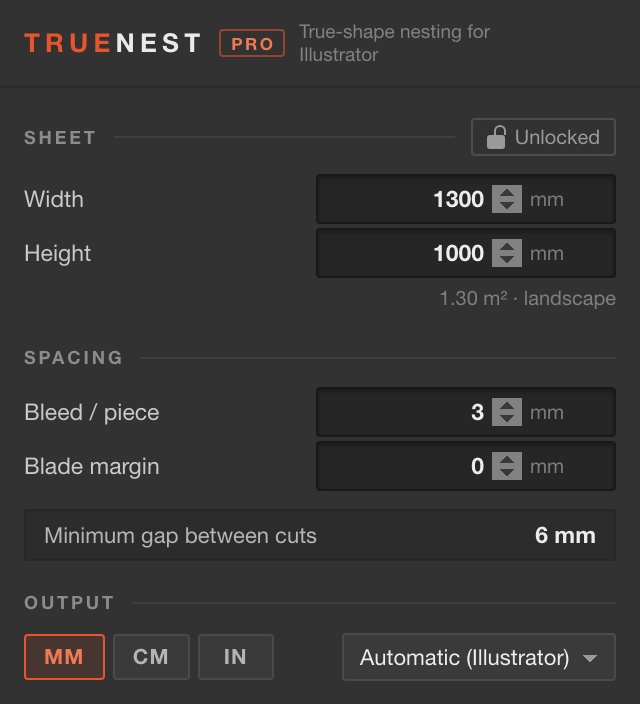
- Width is the width of your roll. Height is the maximum length of one sheet.
- Bleed / piece is how far the print goes past the cut line. The sheet edges keep this margin too.
- Blade margin adds space between the bleeds of two pieces. Minimum gap between cuts is calculated for you.
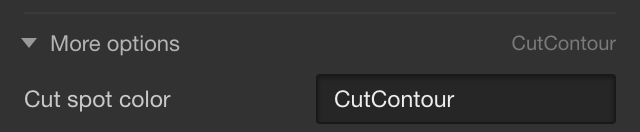
- Your cut swatch has another name? Type it exactly in More options > Cut spot color.
- Click Unlocked to lock the sheet and spacing. All these settings are remembered.
If the kit does not fit, the panel adds sheets below, up to 40.
Nest a selection
- Select the groups of your pieces. One group per piece, not one big group.
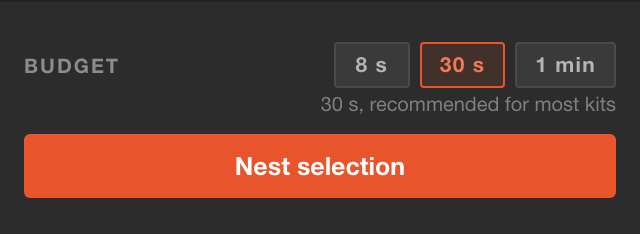
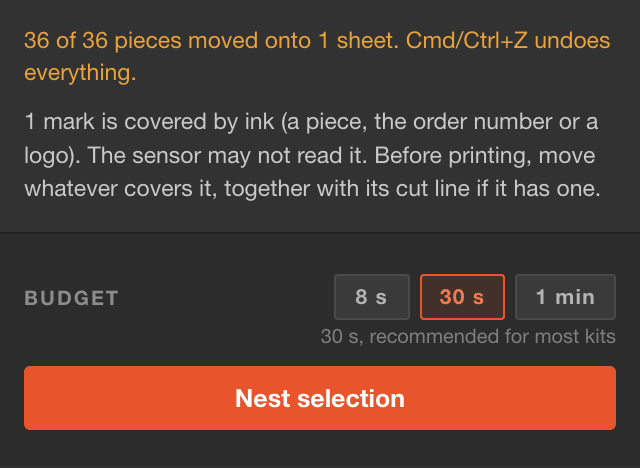
- Choose a duration: 30 s for most kits, 8 s for a quick look, 1 min for a large kit.
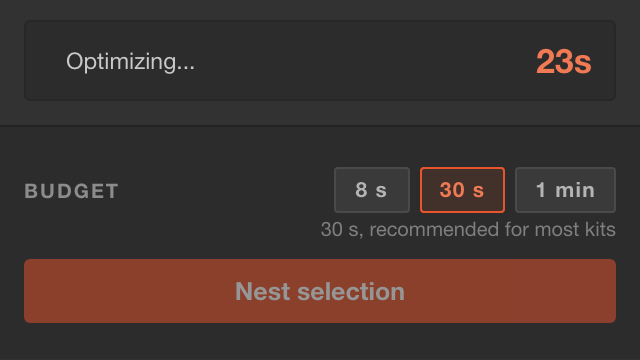
- Click Nest selection and wait for the countdown. Nothing moves in your document yet.
- Pieces left out? Click Show me which ones and fix them. Select the whole kit again, then click Start over.
A kit on several sheets takes longer than the chosen time. This is normal: wait for the end.
Optimize or start over
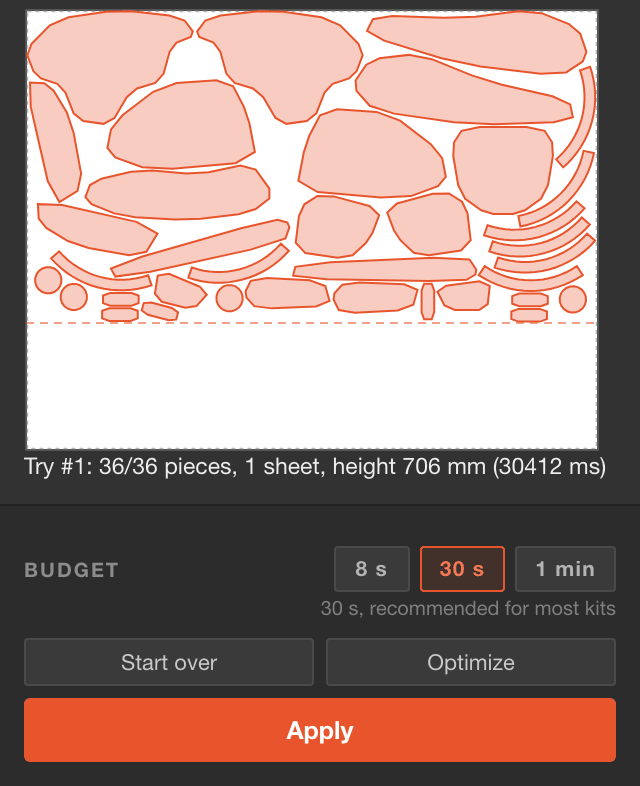
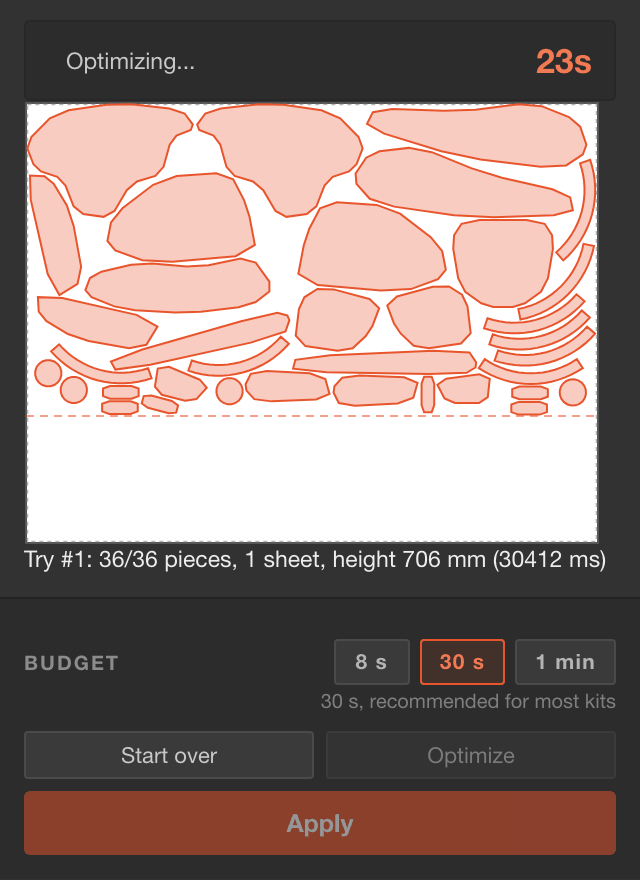
- The preview shows your sheet. The dashed orange line shows where the artboard will end.
- Read the line under the preview. With 36/36 pieces, every piece found a place.
- Optimize searches again with the same pieces. The panel keeps the better layout.
- Start over reads your selection and settings again. Use it after you fix artwork or change a setting.
- While it calculates, Optimize and Apply are greyed out. Wait for the end.
Apply to your document
- Stay on the document you just nested.
- In Window > Artboards, click the artboard that becomes sheet 1.
- Keep that artboard and the space below it free. Unselected artwork is not avoided.
- Click Apply. Your groups are moved and turned onto the sheet.
- Wait for Nest selection to come back before you touch the document.
Something wrong? Press Cmd+Z on Mac or Ctrl+Z on Windows, as many times as needed.

Finishing: sort onto layers
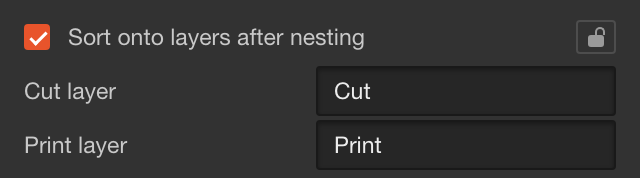
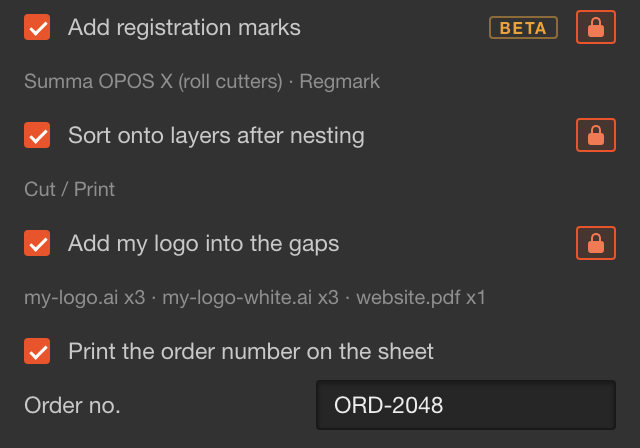
- Open More options and check Sort onto layers after nesting.
- In Cut layer and Print layer, type the names your print software expects. Cut and Print by default.
- Click Apply. Cut lines go onto the cut layer, everything else onto the print layer.
A sorted sheet cannot be nested again. Artwork lying on the new sheets is sorted too.
Logos in the gaps and order number
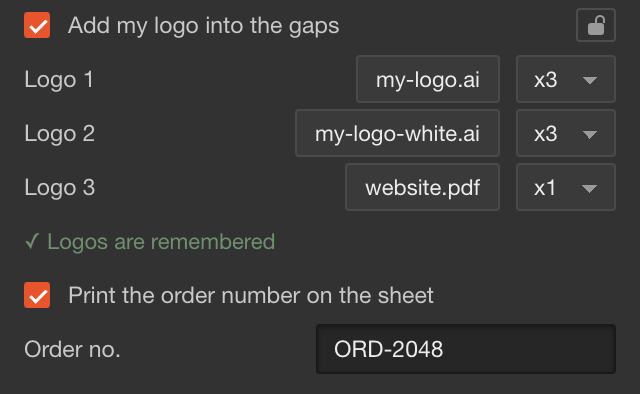
- Check Add my logo into the gaps. Click Choose logo file... and pick an
.ai,.pdfor.epsfile. - Next to it, choose how many copies to place for the whole job. You can add up to three logos.
- A logo keeps the size of its own file. Save it at the size you want on the vinyl.
- Check Print the order number on the sheet. Type the number in Order no. before you click Apply.
- The number gets a cut frame around it. Change it for each job: it stays in the field.
Registration marksBETA
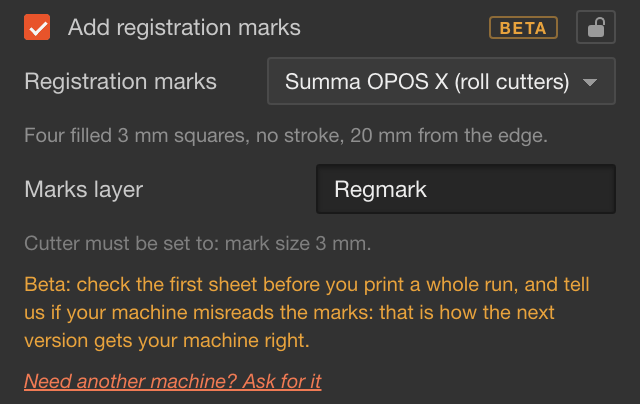
- Check Add registration marks. In Registration marks, choose your machine: none is chosen for you.
- Leave Marks layer on Regmark, or type the name your software expects.
- Set up your cutter as the grey line under Marks layer says.
- Click Apply. Check the first sheet before you print a whole run.
- The panel says “1 mark is covered by ink”? Before printing, move what covers it, together with its cut line.
Presets: Graphtec CE7000 / FC9000, Summa OPOS X (roll cutters) and Summa F Series (F1612). Machine missing? Click Need another machine? Ask for it.
Update to a new version
- Quit Illustrator completely.
- On Mac: install the new
.zxpfile with Extension Manager, as the first time. - On Windows: extract the new
.zipfile. Press Win + R and open this path.%APPDATA%\Adobe\ CEP\ extensions - On Windows: delete every folder with TrueNest or truenest in its name. Copy the new
TrueNest Profolder in. - Open Illustrator and the panel. The new version number shows at the top right.
New versions are included while your subscription is active. Your key and settings stay. Several TrueNest entries in Window > Extensions? See the installation guide.

Tips
- After Apply, read the lines under the result and at the bottom of More options. Nest selection and Start over clear them.
- Next kit in the same file? Use a free artboard, away from the sheets already made.
- Close a padlock to lock a section and fold it away. A checked section still runs on each Apply.
- Change the unit or the panel language under OUTPUT.
- On Windows, the very first calculation can take a few more seconds to start.
Getting help
- First, quit Illustrator completely and open it again. Many problems go away this way.
- Write to support@gettruenest.com, or use the WhatsApp button on the site (messages only, no calls).
- Send a screenshot of the panel with the whole message, including any detail in square brackets.
- Add the version number from the top right of the panel. Say Mac or Windows.
- Your Illustrator version is in Illustrator > About Illustrator on Mac, or Help > About Illustrator on Windows.
Every panel message is explained in the full PDF guide (in English).
Prefer everything in one document? Download the full TrueNest Pro guide as a PDF (in English).